Garden Bruschetta

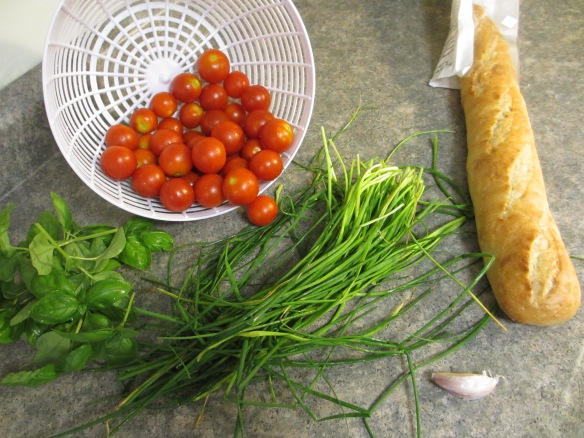
With an abundance of tomatoes from the garden, we’ve been using them in all sorts of things.  I made this bruschetta the other day using ingredients from the garden. The only ingredient that didn’t come from the garden is the garlic (next year I plan to plant some though!).  I sometimes find the standard bruschetta we make a little too oniony, so the mild onion flavor from the chives was a nice change.  Below is the basic recipe.  I didn’t keep track of quantities, but I would recommend using whatever quantity you like based on personal preference anyways 🙂

Ingredients: Cherry tomatoes, basil, chives and 1 clove of garlic. Salt and pepper to taste.

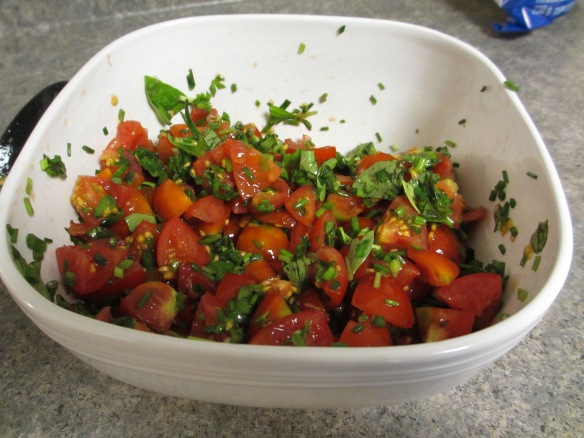
Instructions:  Slice the tomatoes into quarters, rip up the basil leaves and chop the chives to whatever size you like.  Dice the garlic or use a garlic press.  Combine all ingredients and let flavors mix. Cut the baguette into slices and toast them in the oven using the broil setting. You can drizzle the bread with good olive oil before spooning on the bruschetta, but this is optional.  Serve pre-assembled on a tray or put out a basket of toasted bread and the bowl of bruschetta and let everyone assemble their own.

The final product:

Tomato Overload! – Veggie Update Aug 11

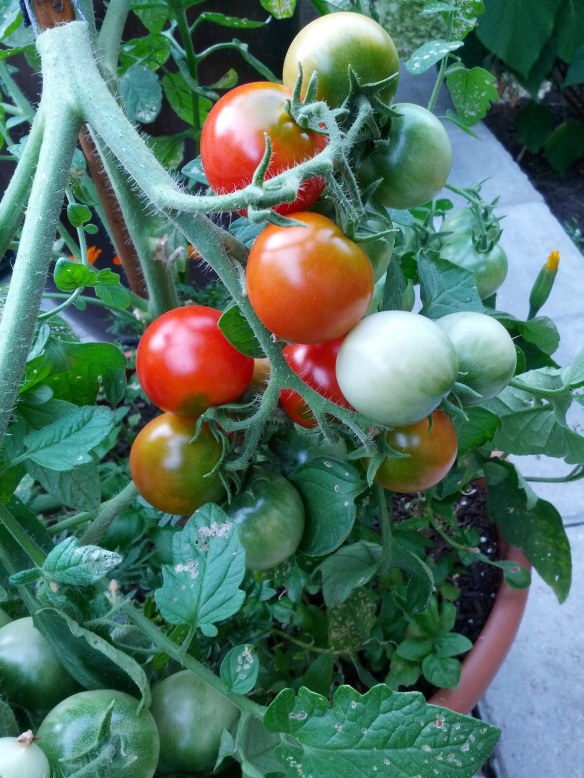
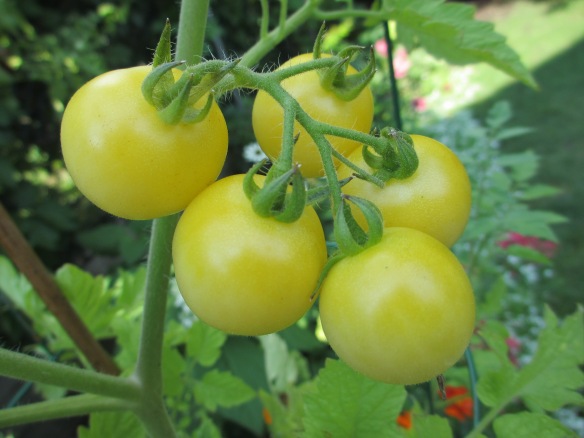
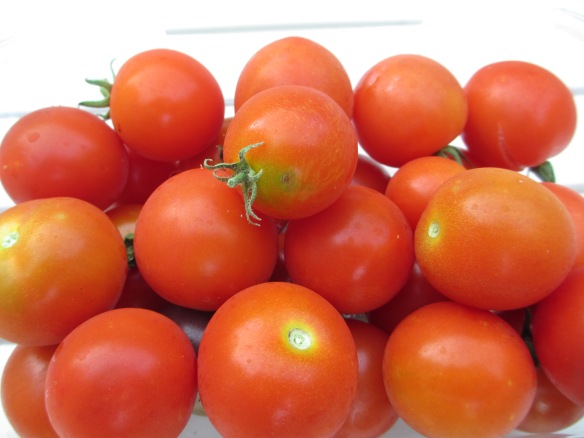
Well, its finally that time of year where we don’t really need to buy produce at the grocery store… we’ve got more than enough veggies to make salads and for side dishes.  We have an abundance of tomatoes, and have been testing out a few recipes since we have so many (will post some recipes soon) as well as giving them away.  We’ve been eating the red cherry tomatoes for about a month now and the black cherry tomatoes are definitely ripe as of last week.  Can’t wait until the yellow ones are ripe so that we can have a rainbow of tomatoes on our salads 🙂

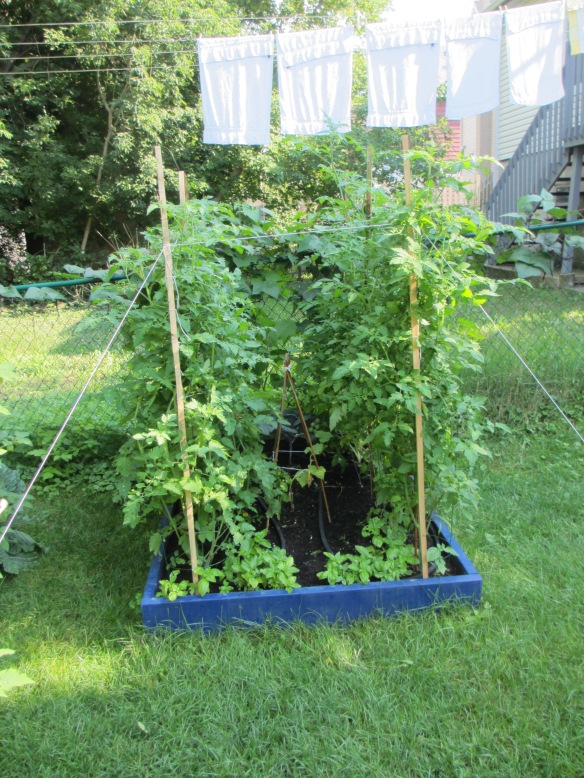
The tomato plants were a bit out of control, so last weekend Brian helped me to stake up the plants in my garden.  The red cherry tomatoes are only about 4 feet, but the black cherry and yellow cherry tomatoes are definitely reaching 6 feet and were totally out of control.  The staking system we came up with is  based on the stake and weave method I saw in this you tube video, but since we didn’t have super thick stakes we ended up putting the stakes closer together and stablizing the stakes by attaching them to the fence and tying them to the ground.  They’ve held up pretty good so far, given that we’ve had a lot of rain storms this past week. Here are some tomato pictures, and some pictures of my garden with the new staking system.

Before staking..

After!

Here are a few other pictures of the veggie gardens and the veggies we’ve harvested in the last couple of weeks.  We’ve been getting quite a few purple beans and ground cherries, and our first cucumber is just starting to get big. It also looks like its time to start eating the kale and swiss chard 🙂

Zucchini! (Veggie update – July 15)

This week we harvested the first zucchini of the season! It was pretty big and starting to turn green, so we figured it was ready to eat.  It was delicious – we cooked it in a stir fry and ate some raw.

We also tasted our first ground cherries.  They are pretty small right now when you take them out of their husks, but sweet and delicious just like candy:). And we now have some purple beans which are also quite good.  They are smaller than the scarlet runner beans and the yellow wax beans we had last year, but the color is amazing. They weren’t as prolific as most beans I’ve planted, so might need to plant a fall crop somewhere else in the yard.

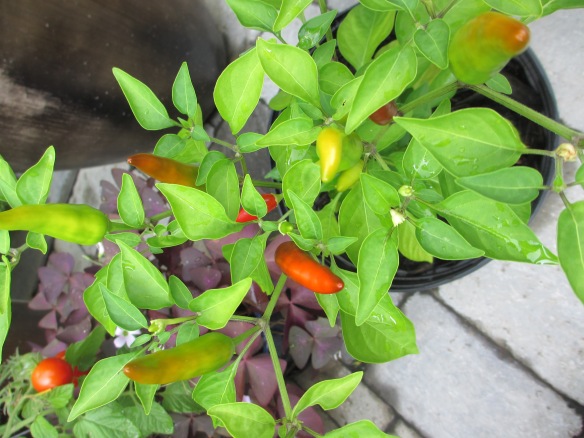
And in other gardening news, the tomatoes are starting to ripen with all the 30 degree+ weather we’ve been having and the pepper plants are starting to produce peppers.

Perhaps the most entertaining thing is that Brian decided to build a protective cage around his rubarb plant, because Mika has stepped on it a few times.  The size of the cage is the amusing part… He really thinks it is going to grow to that size this season.  I think it might take a few seasons to get to that point though ;)Oh well, we can use the cage to hold extra leaves and compost this fall 🙂

Here are some pics from this week. If you click on the pictures you should be able to view them in a larger size as part of a slide show.

Videos on pruning and training climbing roses

I’m quite excited about my new John Cabot Explorer rose, which can apparently be trained as a climber.  I wanted to find out more about how to prune and train climbing roses, and my research let me to the following vidoes from AshdownRoses. Now I just need my rose to grow some longer so I can start to train it!

Pruning & Controlling a Climbing Rose

Training a Rose on a Trellis

Pegging a Rose

How to Pillar a Rose

And an inspiration photo of a John Cabot Explorer Rose growing on a trellis.

oh no, tomato bugs!

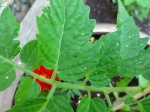
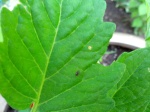
So the first pest has struck! Tiny holes have started to appear in some of the tomato leaves, and the leaves of the eggplant and ground cherries as well.  I noticed that there are tiny black bugs on the plants that jump/fly away when I get close.  I did some googling, and I think they might be flea beetles.

Here are some pictures:

I found a homemade insect repellant recipe online, and I mixed it up tonight.  Here’s the recipe I followed:

1 med onion, diced up very small.
6 cloves of garlic
1 tbs of hot pepper flakes or as much as you want to use
1 tbs of dish liquid. not antibacterial
1 qt. of water

Let it sit over night. 24 hrs is better. Strain pour into a spray bottle. You can buy them at the dollar tree. Soak the leaves early in the morning or very late at night. You have to reapply after watering or rain.

I got the recipe from the I dig my garden forum. Someone else was having a similar issue, and this recipe was recommended.  I found a few other recipes elsewhere, but I liked this one because it combined a lot of the recommended ingredients (onions, garlic, hot pepper).  I actually added another teaspoon cayenne pepper for good measure. I will let you know how it works out.  I’m probably going to have to reapply many times, because we are still watering with the overhead sprinkler (waiting for seedlings to come up).